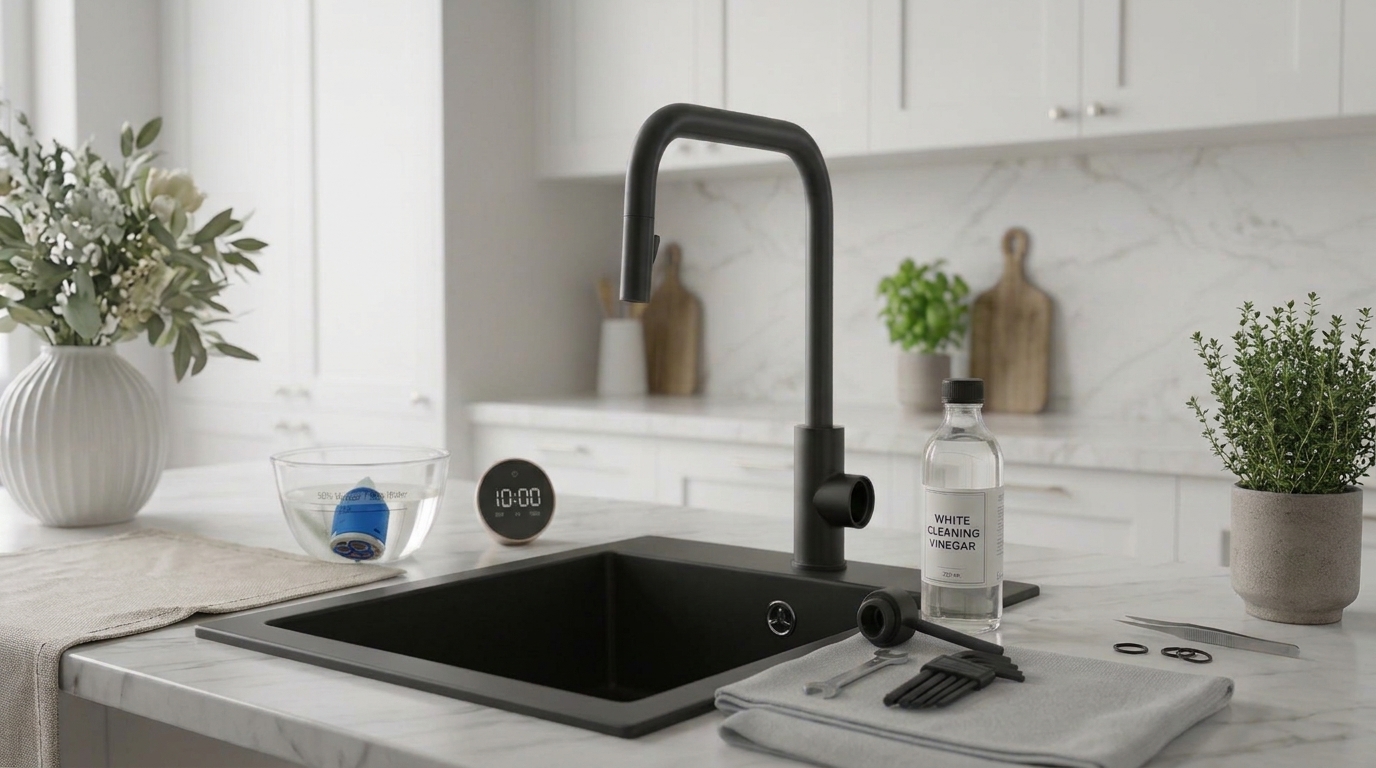
A dripping faucet, a stiff handle, or low water flow is often caused by limescale, dirt, or wear and tear inside the faucet. Cleaning solves many of these problems and takes about 30 minutes. If the internal parts are worn out or damaged, replacement is the better solution.
The steps depend on your faucet. A single-handle faucet has one internal mechanism. A two-handle faucet usually has two: one for hot water and one for cold water. This guide covers both, plus two-hole, bridge, wall-mounted, extra-long-handle, professional, and pull-out kitchen faucets. First, find your type, then follow the steps.
What kind of faucet do you have?
- Single-handle faucet: One handle controls the water flow (up and down) and the temperature (left and right). Usually has one ceramic cartridge.
- Two-handle faucet: one handle for hot water and one for cold water. Usually has two internal mechanisms. The handles typically turn a quarter-turn (90 degrees) from closed to fully open.
- Two-hole faucet: The spout and the handle are separate parts mounted on the sink or countertop. The internal mechanism is located in the handle, so most models have only one.
- Pull-out faucet or faucet with pull-out spout: works like a single-handle faucet, with a single internal mechanism. Also check the spray head and the hose.
Do you have to turn the handle many times before the water stops? If so, your faucet has rubber washers instead of a ceramic cartridge. That’s an older design and requires a different repair, so this guide doesn’t apply.
Other faucet types in our selection
- Bridge faucet: two handles connected by a horizontal bar, with a swivel spout in the middle. It works like a two-handle faucet: one internal mechanism behind each handle, so follow Step 2B. The handles come in star knobs, cross handles, or levers. Lift the cap on top of the handle to find the screw.
- Wall-mounted faucet: The steps for the internal mechanism are the same as for a sink faucet. Turn off the water at the shut-off valves or the main valve before you begin.
- Faucet with an extra-long handle: Remove the long handle the same way you would a standard handle. Some of these faucets are for cold water only and have a single internal mechanism. The long handle provides extra leverage, so move it gently and never force it.
- Professional faucet: a single-handle faucet with a spring-loaded or flexible spout. The steps for the internal mechanism are the same as for a single-handle faucet. Also check the spray head and hose for limescale and kinks.
- Filter, sensor, and foot-pedal faucets: These work differently. This guide is for faucets with a manual lever or handle. For the filter valve or sensor, follow the instructions that came with your faucet.
What do you need?
- Allen wrench for the lever screw
- Adjustable wrench and a soft cloth
- Soft brush (an old toothbrush works great)
- Small bowl, water, and cleaning vinegar
- Your phone, to take photos of each step
Not confident? Call a plumber. Cleaning the inside is a simple job, but if you’re unsure about a step, stop and ask a plumber. That’s better than forcing a part or causing a leak.
Only a little water? Check this first
Low water pressure isn’t always caused by the internal components. Check this before taking anything apart:
- Aerator: Unscrew it and check for dirt or limescale inside.
- Spray head (pull-out faucets): Clean the spray holes.
- Hose (pull-out faucets): Check under the sink for kinks.
- Shut-off valves: Make sure they’re fully open.
Soak the aerator or spray head in the same vinegar mixture used for the internal parts (see Step 3) and rinse thoroughly. If the water flow remains weak, or if the faucet drips or operates stiffly, proceed to the internal parts.
Step 1: Preparation (all faucet types)
- Close the shut-off valves under the sink. No shut-off valves? Then turn off the main water valve.
- Open the faucet to release the pressure.
- Place a cloth in the sink and over the drain to prevent small parts from falling in.
Step 2A: Single-handle faucets (single internal mechanism)
This also includes two-hole, wall-mounted, extra-long-handle, professional, and pull-out faucets with a single handle.
- Locate the small cap or adjustment screw on the handle. Remove it with the Allen wrench and lift the handle off.
- Remove the cover and unscrew the lock nut or cap. Wrap the jaw of the wrench in a cloth to protect the surface and hold the faucet body firmly in place.
- Pull the inner mechanism straight up. Take a photo of how it’s positioned before moving it.
Step 2B: Two-handle and bridge faucets (two inner mechanisms)
- Start with one side. Remove the cap from the handle, unscrew the screw, and lift the handle off.
- Loosen the lock nut and pull the inner mechanism out.
- Clean and reinstall this side completely before starting on the other side. This ensures you never mix up the hot and cold inner mechanisms.
- Hot and cold internal mechanisms can turn in opposite directions and are not always identical. Always reinstall each internal mechanism on its own side.
Step 3: Inspect, Soak, and Clean (All Faucet Types)
- Inspect the internal mechanism. Are the ceramic discs cracked, broken, or scratched, or are the seals worn out? If so, cleaning won’t help. Replace it.
- Soak the internal mechanism for 10 minutes in a bowl containing 50% cold water and 50% cleaning vinegar. No longer.
- Gently brush along the discs and openings. Do not scrape the ceramic surfaces.
- Rinse under running water until the vinegar smell is gone.
Internal parts vary by faucet. If your faucet’s instructions state that you shouldn’t use vinegar or that you need to clean the internal parts differently, follow those instructions.
Step 4: Reassembly and Testing
- Reinstall the internal parts in the same position, then the nut (tighten firmly, but don’t force it), and finally the handle.
- Slowly turn on the water. Check for leaks at the base of the faucet.
- Move the handle or lever through its full range of motion. For a two-handle faucet, test the hot and cold water separately.
What is your faucet telling you?
- Drips after closing: limescale or debris between the washers, or worn washers.
- Stiff or gritty lever: limescale or wear inside the mechanism.
- Temperature fluctuates: partial clog in the internal mechanism, or a problem with the water supply.
- Low water flow: check the aerator or spray head first, then the internal mechanism.
- Leak at the bottom of the faucet: a worn seal or O-ring, or a loose connection. Not the washers.
Safety Tips
- Always turn off the water before taking the faucet apart.
- Soak only the internal mechanism. Vinegar can damage colored finishes, such as brushed gold, copper, gunmetal, and matte black. If any vinegar splashes onto the faucet, rinse it off and dry it immediately.
- Never let it soak for more than 10 minutes. Soaking for longer can damage seals and small parts.
- Do not force a stuck handle, nut, or internal mechanism. This can break the ceramic or damage the threads.
- Use only cleaning vinegar. Do not use bleach, strong descaler, or a scouring pad.
- If you don’t feel confident enough to do this yourself, call a plumber.
When should you replace the internal mechanism?
- The faucet is still dripping after cleaning and reassembly.
- The handle remains stiff or comes loose.
- The ceramic disc is cracked, broken, scratched, or worn out.
- You’ve cleaned it several times before, and the problem keeps coming back.
- The internal mechanism is sealed and not designed to be cleaned.
Internal mechanisms are not universal. Sizes and connections vary by brand and by model within the same brand. A single-handle faucet requires one new internal mechanism. With a two-handle faucet, you can usually replace only the defective internal mechanism. If the other side is also stiff or dripping, replace both at the same time.
Need help finding the right part? Send us your order number or faucet model, and we’ll help you find the right internal mechanism.
How often should you clean it?
- Clean the interior if the handle becomes stiff, the faucet drips, or the water flow decreases.
- In areas with hard water, it’s a good idea to check it once a year.
- If the faucet is working normally, you don’t need to take it apart.
- Wipe down the aerator and spray head every few weeks.
- After any plumbing work, let the water run for a minute or two to flush out any loose debris.
- If limescale keeps coming back, a water filter or water softener can help.
Frequently Asked Questions
Does a two-handle faucet have two internal mechanisms? Usually, yes. One controls the hot water and one the cold. Older faucets sometimes have rubber O-rings. Clean the internal mechanisms one at a time so you keep them on the correct side.
How many internal mechanisms are there in a single-handle faucet? Usually one. It controls both the water flow and the temperature.
Why is my faucet dripping from the spout? Limescale or dirt can prevent the ceramic discs from sealing properly, or the discs may be worn out. Clean the internal mechanism first. If the faucet is still dripping afterward, replace the internal mechanism.
How long should I let a cartridge soak? 10 minutes in a 50/50 mixture of cold water and cleaning vinegar. Soaking it longer isn’t better and can damage the seals.
Can I use regular white vinegar instead of cleaning vinegar? Yes, but it’s less potent, so limescale may take longer to loosen. Stick to the 10-minute soak and rinse thoroughly.
Will vinegar damage the color of my faucet? It might if it remains on a colored coating. Soak only the internal parts and wipe off any splashes immediately.
Why is so little water coming out of my faucet? First, check the aerator, the spray head, and the shut-off valves. These get clogged more often than the internal parts. Then clean the internal parts if the flow is still low.
My two-handle faucet is dripping only on the hot side. Should I replace both internal mechanisms? Not necessarily. Clean the hot side first. Replace that internal mechanism only if it’s worn out, and check the cold side while you’re at it.
When should I call a plumber? If you can’t turn off the water, if a handle, nut, or internal mechanism is stuck, if the faucet leaks after you reassemble it, or if you’re uncomfortable taking the faucet apart.
A dripping or stiff faucet doesn’t always need to be replaced. Check the aerator, clean the internal mechanism, and replace any worn-out parts.